
So I've been making paper lately. I've used GIMP for way over a dozen years and I just now learned how to make stripes and dot patterns. I never tried to make a paper pack before. I always thought it was way over my skill level so I don't know where all this knowledge is coming from but I'm glad the planets have finally aligned so I can figure this stuff out. Now I did go watch a few tutorials on the basics so I could experiment a little since I never used these buttons before.


So when you put a graphic on the web, it loses its quality because the web will only display it at 72 ppi no matter how high the resolution of the graphic is. And I wanted to figure out a way to show some of the beautiful detail of the vintage graphics I'm working with lately.

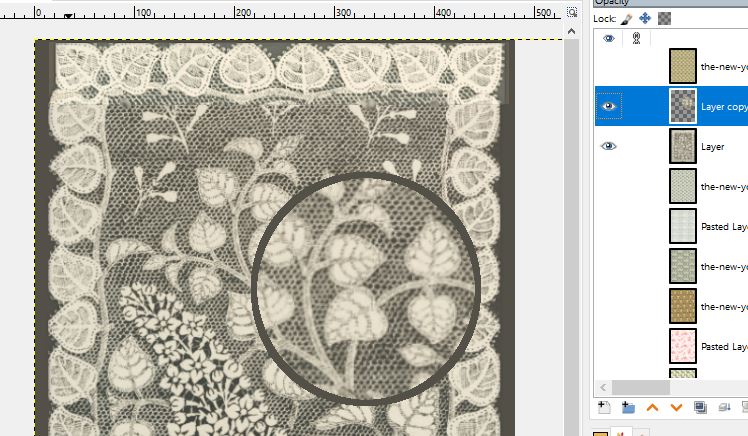
I got the idea to enlarge a part of some of the paper with a magnifying glass. I started with this beautiful lace piece and you can see the detail is gorgeous. It needs a closeup. So the first thing I did was duplicate the layer on top and then enlarged it a bit with the scale tool. On the top layer I added an alpha channel to the layer, then I used the elliptical tool to draw a perfect circle on it.
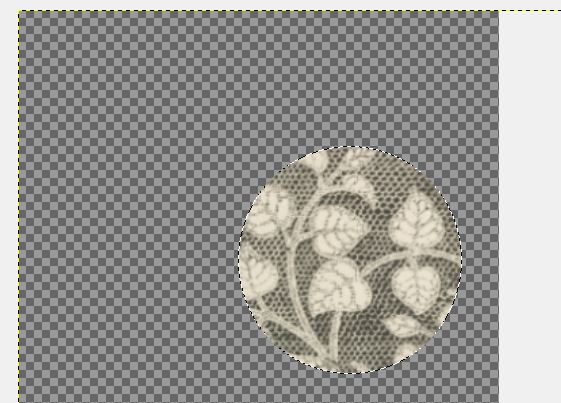
Then I turned off the bottom layer and with the top layer still selected so I wouldn't be distracted (but you don't have to), I clicked 'select | invert' and hit delete to remove the background. Then I hit 'select | invert' to put the focus back on the circle. Then I went to 'edit | stroke selection' and chose about number 6 thickness in the background color. I'm working on an 8.5" x 11".

Then I turned the bottom layer of it back on by clicking the eyeball on the layer and this is what it looks like. Now you can see a little enlarged area and the detail. I don't think it needs a handle on the magnifying glass but you could put one on it if you wanted to. The more time you spend in this program, the more you will learn and figure out as you go.

I did manage to get a whole pack of paper made and packaged up and on Etsy. My first paper pack. And I did get to use my little magnifying glass on some of the previews. And I liked one of the papers so much I decided to use it for a background. They look like this -

I know you could get a whole lot fancier with shading and highlights and really make it look like glass but I feel lucky to just have figured out this much so I'm going with it. It does give you a better look at the paper design so mission accomplished!
Comments
Post a Comment
Thank you for taking the time to comment. Comments are being spam filtered and are usually added within the hour.